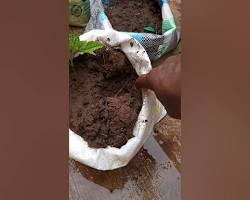
How to Plant Ugwu (African Pumpkin) Successfully in Abeokuta
A Comprehensive Guide
Ugwu, a leafy green vegetable, is a popular ingredient in many Nigerian dishes. Its versatility and nutritional value make it a valuable addition to any garden. If you're looking to cultivate Ugwu in Abeokuta, follow these steps for a successful harvest.
Seed Preparation and Nursery Setup
- Soak the Seeds: Start by soaking the Ugwu seeds overnight in warm water to soften the seed coat and accelerate germination.
- Prepare the Nursery: Use seedling trays or pots filled with a well-draining potting mix. Sow 2-3 seeds per pot, covering them lightly with soil.
- Water Regularly: Keep the seedlings consistently moist but avoid overwatering.
Transplanting Seedlings
- Timing: Once the seedlings have developed 2-3 true leaves (usually after 4-6 weeks), they are ready for transplanting.
- Site Selection: Choose a sunny location with well-drained, fertile soil.
- Planting: Dig holes slightly larger than the root ball and plant the seedlings, ensuring they are at the same depth as they were in the nursery.
- Spacing: Plant the seedlings about 1-2 meters apart.
Soil Preparation and Fertilization
- Soil Improvement: Enhance soil fertility by adding compost or well-rotted manure.
- Fertilization: Apply a balanced fertilizer, such as NPK 15-15-15, at planting and again 4-6 weeks later.
Watering and Maintenance
- Regular Watering: Water the plants regularly, especially during dry periods.
- Mulching: Apply mulch around the base of the plants to conserve moisture and suppress weeds.
- Pest and Disease Control: Monitor for pests like aphids and beetles, and fungal diseases like powdery mildew. Use organic pest control methods if necessary.
Harvesting
- Harvesting Time: Harvest the leaves when they are fully grown and tender.
- Continuous Harvesting: You can continue to harvest leaves from the same plant for several months.
By following these steps and incorporating the visual elements, you can successfully cultivate healthy and productive Ugwu plants in your garden. Happy gardening!


.jpeg)
Comments
Post a Comment